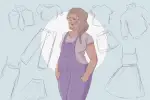

The quick and unsuspecting rise of do-it-yourself fashion has led to the birth of a DIY trend where people create high-end looks with old, found materials. When it comes to DIY fashion, most materials are cheap, usually coming straight from the thrift shop. Thrifting has become its own trend but has skyrocketed with the help and creativity of the DIY community.
The concept of thrifting is to go to thrift shops and find interesting items of clothing at a low price. Usually, when people go on these thrifting excursions, they’re hoping to find items that are high-end or pieces that can easily be turned into something completely different. YouTubers like TheSorryGirls and Amber Scholl often make content revolving around transforming thrift shop clothing, and fellow content creator Micarah Tewers even turned an old couch into a Jackie Kennedy-inspired dress.
Today’s generation is all about trying to look expensive without actually spending a large sum of money. While thrifting, someone can make their wardrobe look eclectic and unique. Doing this creates the individualization that teenagers and young adults often crave. It’s important for everyone to feel comfortable in the clothes they wear, and it’s easiest to do that when you customize them yourself.
1. DIY Cropped T-Shirts
A classic method of personalizing old clothes is to cut them to your new preference. You can crop almost anything, like shirts, jeans, shorts, dresses and jackets. One of today’s common cropped commodities is the crop top. The style of the crop top actually originated in the Middle East because it was often worn by belly dancers to show off their midriffs. While it was a part of fashion culture in the West, it didn’t become popular until the 1980s.
When it comes to making a DIY crop top, the most important part, besides the scissors, is the shirt. An old boring shirt or a large thrifted men’s shirt will do the trick. To avoid mistakes, make sure to try on the shirt with your favorite pair of jeans and play around with the length of the shirt.
You can do this by folding the shirt inward and pinning it at a few different lengths. Once you choose the desired length, you can cut a straight line across until the bottom of the shirt is completely cut. Just like that, you have a new and unique crop top.
2. DIY T-Shirt Quilt
Imagine this: It’s the middle of winter and you have a whole bunch of summer T-shirts that are no use to you right now. What do you do with them? Make a blanket of course! This T-shirt quilt can be made entirely out of shirts, a little bit of lightweight interfacing and an old blanket from the thrift store. Something like this can be a gift for someone else or a nice accent blanket for your dorm room.
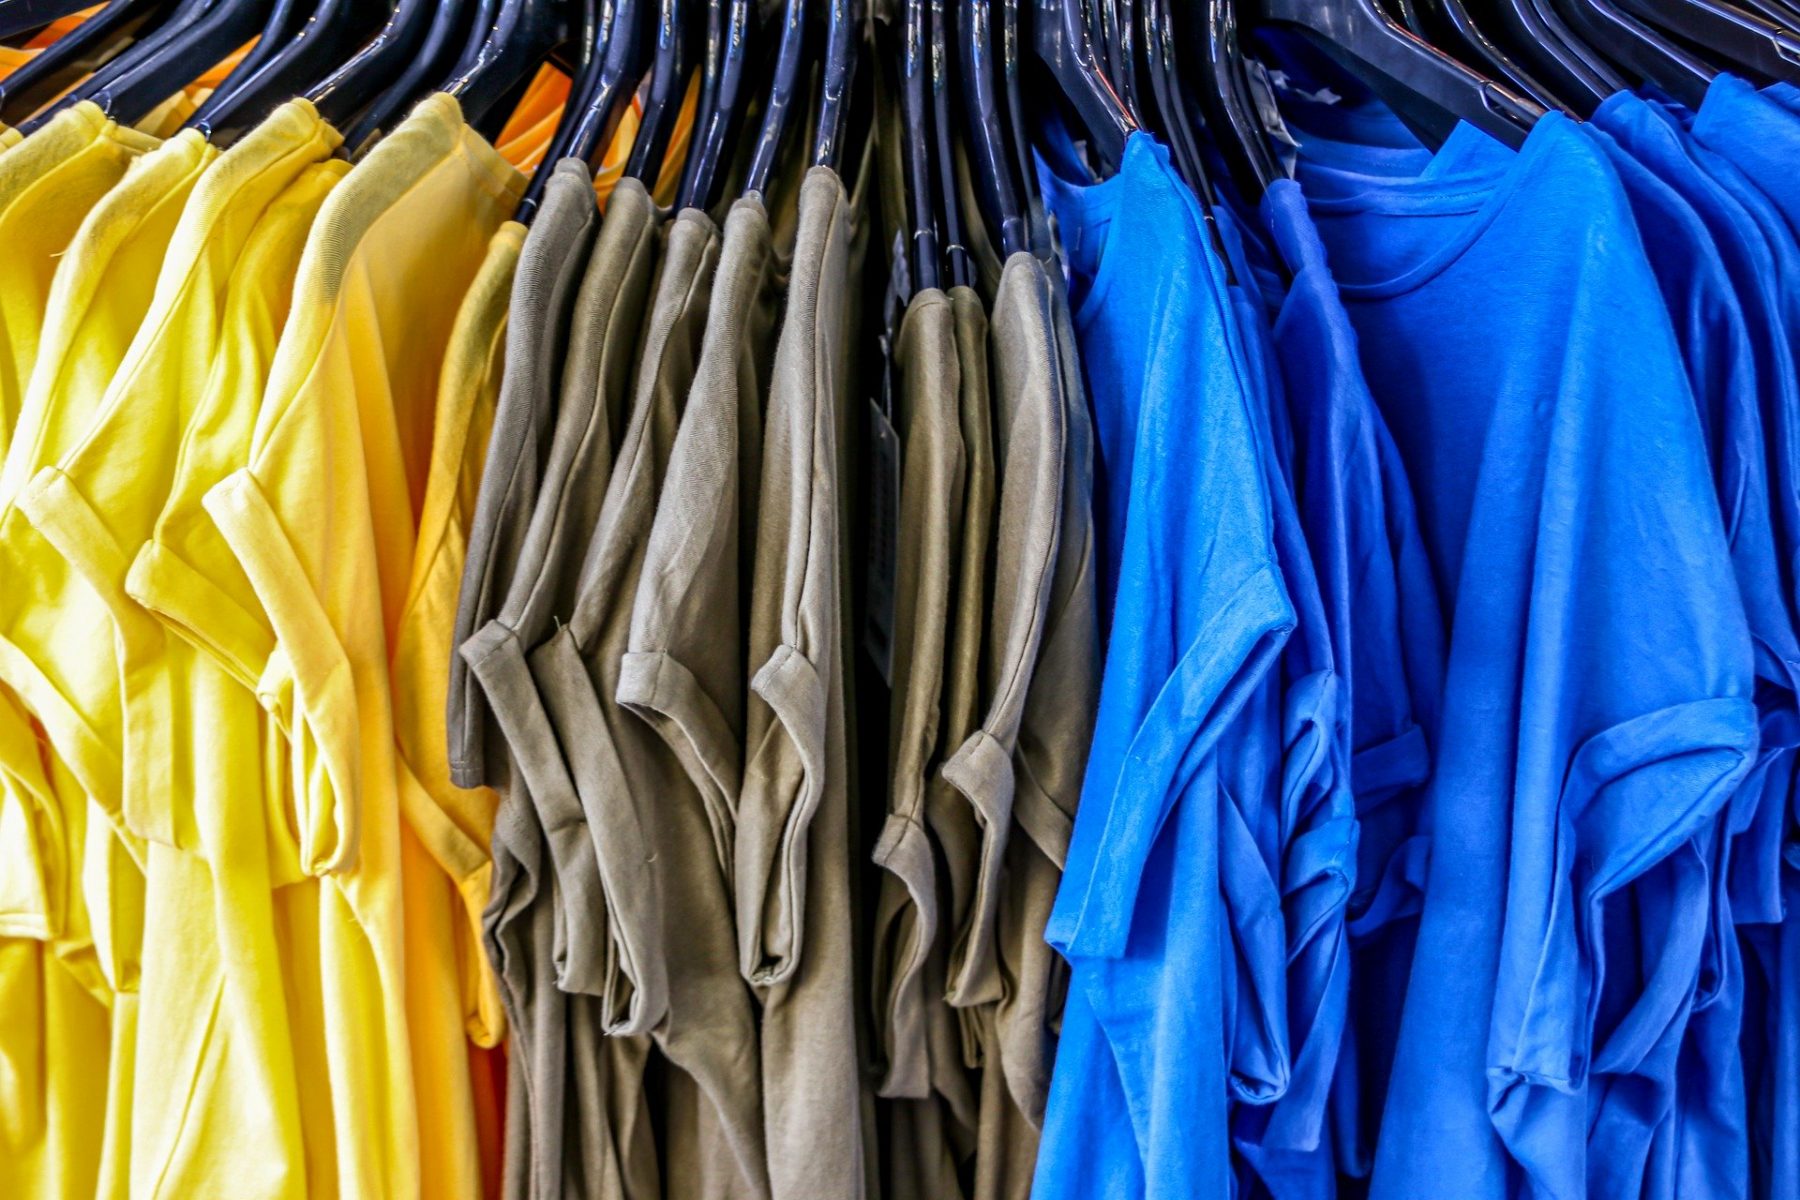
The first thing you have to do is collect a bunch of T-shirts. You can use around 60 shirts that are old, not in shape or not in style anymore. That number may seem like a lot, but the amount of clothing in people’s closets will surprise you. Once the shirts are collected, you’re going to cut them into a square or rectangle shape. The next step is to attach interfacing to each one of the shirts, which will prevent any kind of stretching when sewing. When that’s completed, split the shirts in half and arrange them to your liking.
The first 30 shirts will be the front; the other half will be the back of the blanket. The next step is to sew all the shirts together so you’re left with two big pieces of fabric — the front and back. After that comes another easy part: putting an old blanket in between the two pieces of fabric to act as a cushion and then sewing it all together. Once you’re done, you’re left with a one-of-a-kind blanket that no one else has.
3. DIY T-Shirt Bracelets
Making T-shirts into bracelets can be an activity that you do with your friends as a bonding experience. These bracelets aren’t something that a lot of people are making, so having this will give you a unique look. For this, you’ll need a couple of shirts that you’re going to cut in very thin strips — about 2 centimeters wide.
Once you have those strips, combine them so you have two, 4-foot-long strips. You can do this by cutting a slit near the ends of both strips, stringing the slit-free end of one strip through the hole of the other one, then into its own slit. This will form a loop. Once that’s done, you pull the ends to tighten the loop.
With the two longer strands completed, it’s time for the weaving part, which can be a little complicated. The first thing you’re going to do is fold both of the strands in half so you have four of them. Next, take the two strands on the right, put them over the strands on the left, loop them underneath the strands on the left and pull to make a knot.
An easy way to visualize this is to make it look like a pretzel knot. You’ll repeat this step until you run out of fabric or until it’s long enough to tie around your wrist. Once that’s done, you’ll tie the two ends together and complete the bracelet.
4. DIY T-Shirt Bag
Creating a DIY bag from secondhand shopping will bring your thrifting efforts to the next level. Making this T-shirt bag may be one of the easiest DIYs in this list.
The quick and easy way to do this is to take the T-shirt and cut off the sleeves at the seam. Then you cut a larger U-shape where the neckline is. That will be the opening of the bag, and the cut shoulder straps will be the handles of the bag. The last step is to sew along the bottom of the bag, which closes off the bottom of the bag. Once that’s finished, you’re done and have an easy-to-make DIY bag.
5. DIY T-Shirt Pillows
A classic and simple thing to do with any kind of leftover fabric is to turn it into a throw pillow. I’ve seen other ways to make a T-shirt into a throw pillow, but the envelope method allows you to interchange different pillow covers. The first step is to cut out a piece of fabric that has the same measurement of the pillow you want to cover.
After that, you’re going to cut two pieces that are a little bit more than half of the pillow’s measurements. Place the front pillow piece right-side up, then place one of the back pieces on top of it, with the right sides together. Take the other back pillow piece and place it on top of that, right side facing down. Once these steps are completed, you can sew around all of the edges and flip the fabric inside out. Now you can stuff your pillow inside the pillowcase you just made.
An upside to fashion DIY is that you can prevent clothing from being wasted, and now that you have all of these DIY T-shirt ideas, a shirt will never go unused. Besides doing it yourself, you can always donate clothing that’s in good shape to homeless shelters, donate them to thrift shops or sell them to consignment shops for a quick buck. There is always something you can do with your old clothing; it’s just a matter of a good old-fashioned DIY.