Has your dorm room or apartment been looking a little depressing lately? Maybe you just moved in, and those bare walls remind you more of a prison than a home. Well, not to worry: Here are five easy ways to create cheap art for your living space that won’t bust your wallet.
No art school required, I promise.
1. Zentangles
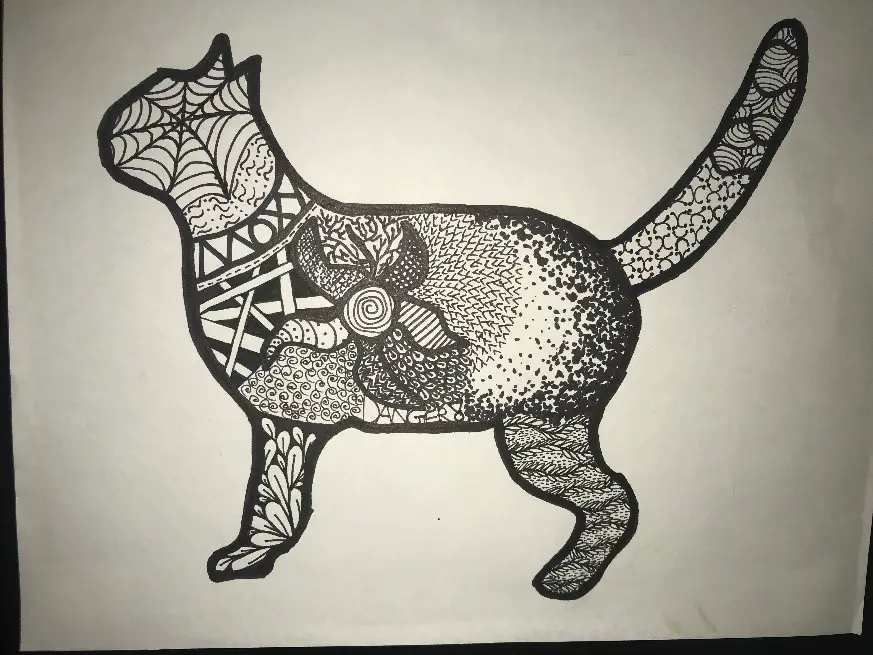
With a simple, yet endlessly creative concept, zentangles are of my all-time favorite methods for cheap and easy decoration. A zentangle is a blank space, filled with a variety of patterns, and all you’ll need for this method are some fine-lined pens and/or Sharpies, as well as an empty template to fill in with patterns.
You can find online templates and zentangle-themed coloring book pages to print, or you can draw your own outlines. Inspired by my sister’s beloved cat Moxy, I made this one as a gift for her after finding the outline online.
You can design your own patterns or recreate ones you discover online, and if you want to go a step further with these, you can start journaling to keep a record of patterns you like. Here’s a page from my bullet journal.
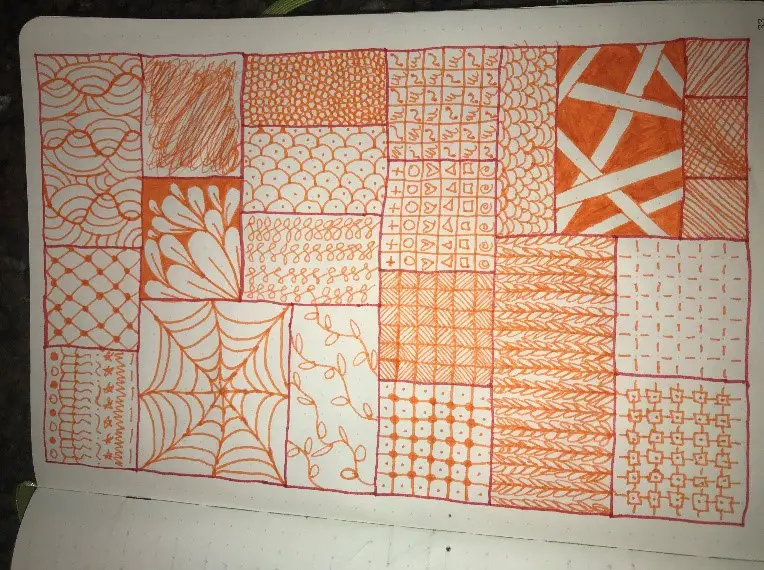
Doodling these intricate designs can be quite relaxing, and you don’t have to be an artist for it to look good (especially from further away). Plus, zentangles are surprisingly forgiving of mistakes — no matter how much you mess up, you can still hang it on the wall, and it’ll look nice.
2. Watercolor
Depending on what you want to get out of it, watercoloring can be a less time-consuming technique to generate cheap art. You’ll need some brushes, canvases and a watercolor paint set, which you can get at a bargain in stores like Target or Walmart, or, in pricier variants, in craft stores.
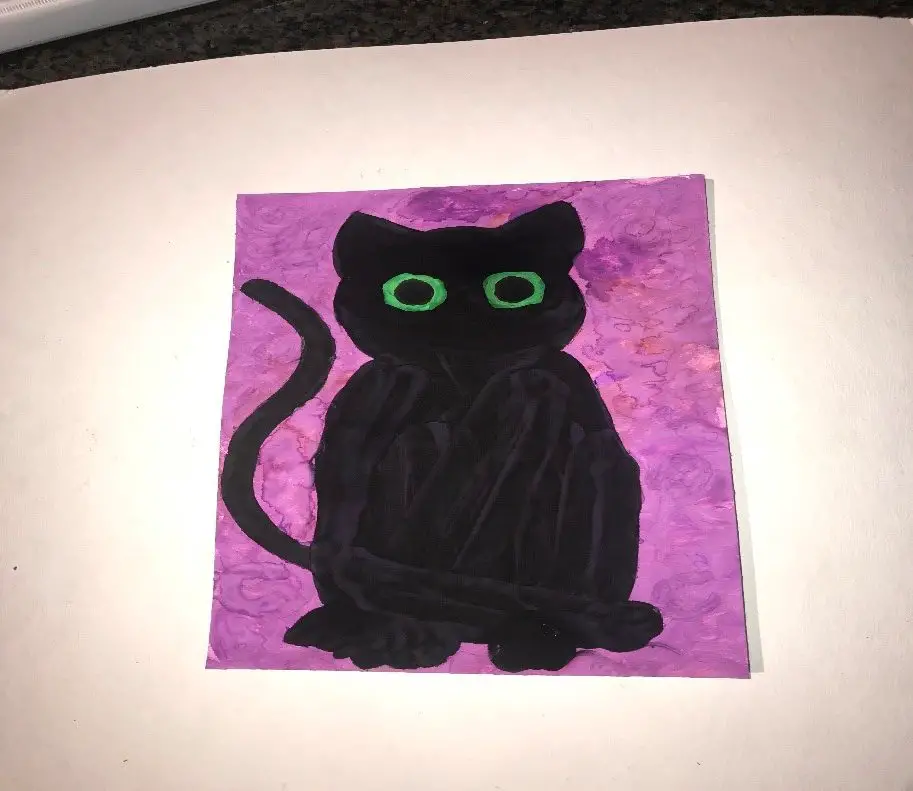
Here’s the secret: You can literally just stroke some complimentary colors across a blank canvas, hang it up and call it art. This is a piece I created, adhering to the mantra of “cover it in color and call it art.”
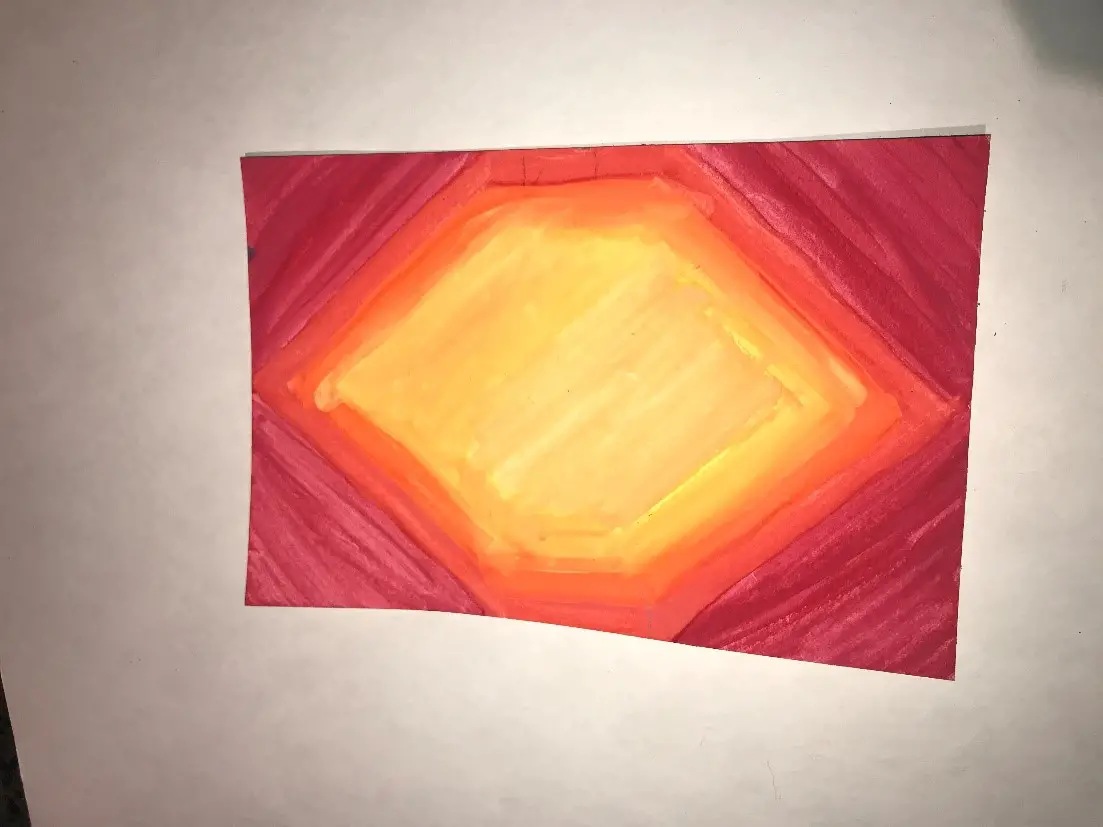
As you can see, this piece is simple, and only took me minutes to make; with multiple coordinating ones, you can transform any wall into a mosaic. Or you could create a series in which you paint the sky’s colors each day, or throughout a single day. You’ll soon have several matching pieces to tie your whole space together.
Once you become more comfortable with the medium, you can stretch your wings a bit and paint a still life or two. The things around your home make for great models, and while I find Moxy nearly impossible to paint accurately, pets can be inspiring muses.
3. Splatter Art
With the least amount of effort required out of any I’ve mentioned, splatter art is a fun method to manufacture plenty of cheap art. Step aside, Pollock; enter you — we’re covering more things in color and calling them art.
Grab a canvas, some paint, a box or tarp to protect your surfaces, a paintbrush and a large radius of space and get to splattering. Here’s my setup.
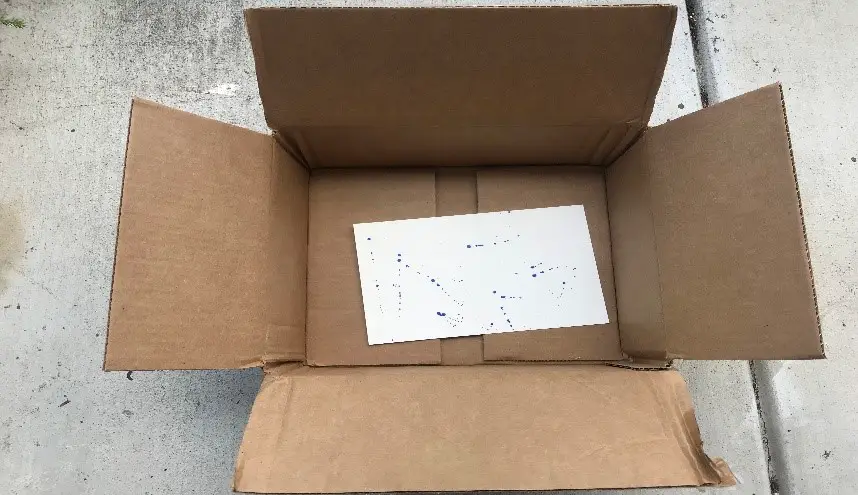
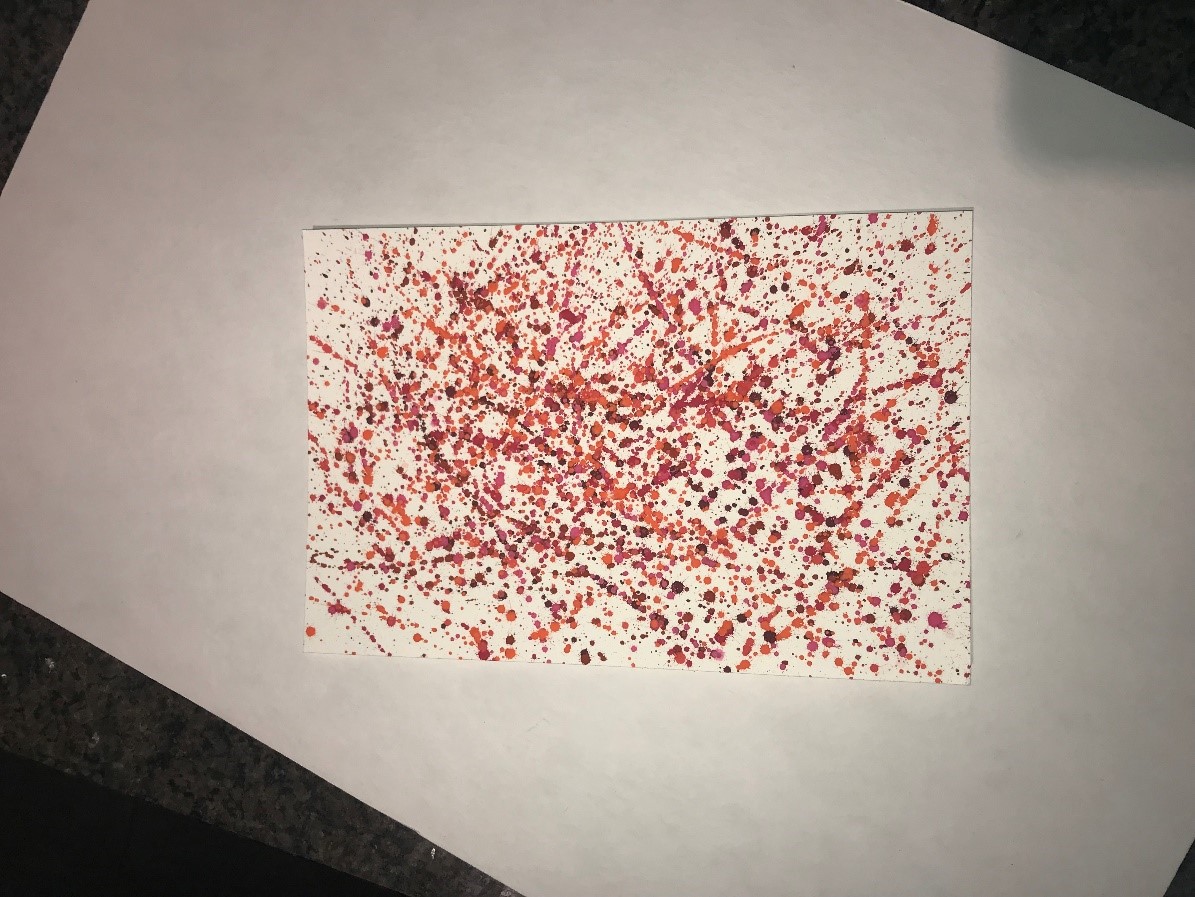
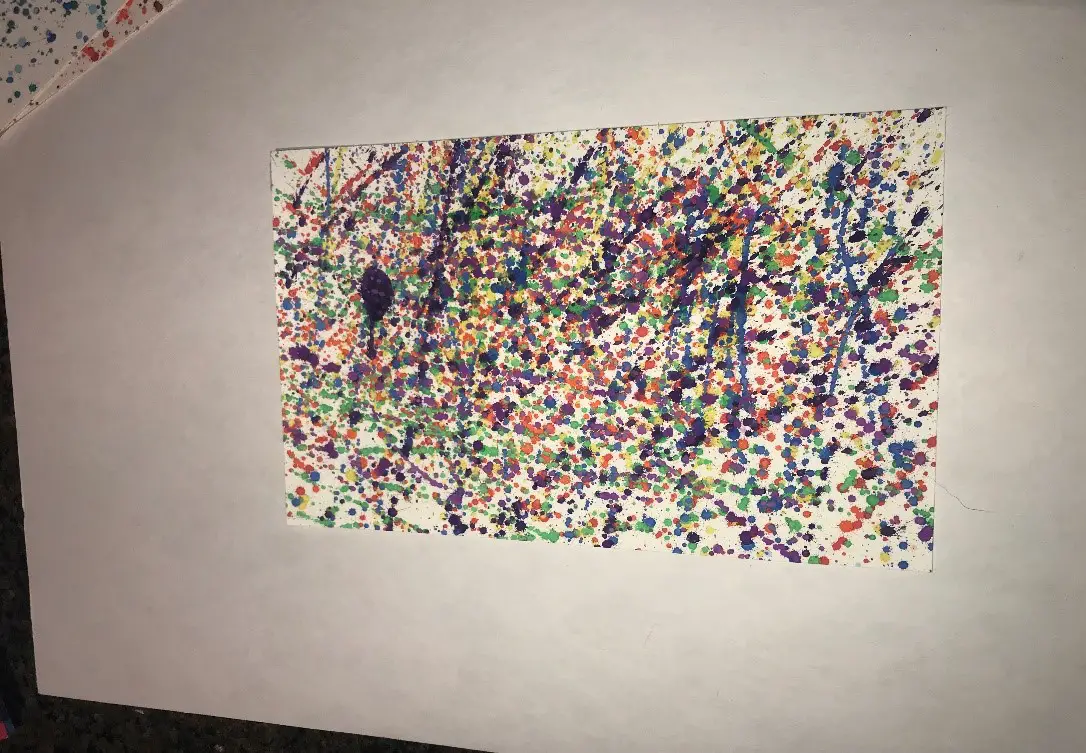
Choose a few colors for each piece and experiment! Try overlaying the colors, using different paint-hurtling tools or techniques or cut-out shapes to protect certain areas from splatter, and then reveal cool designs. Because it’s abstract, you don’t have to worry about whether or not it looks quite right. Pictured below are a couple of my own masterpieces.
4. Oven-Bake Polymer Clay
Maybe you’re a more tactile person, or you want to feel like a kid again and play around with some goop. Never fear; there’s a way you can feel simultaneously like a professional craftsman and a toddler while making cheap art.
You can find oven-bake clay at Target or Walmart, as well as most craft stores, and with it, you can mold knickknacks, like jewelry dishes and bowls, coasters, pen cups and more. Here are a set of coasters and a jewelry bowl I’ve made.
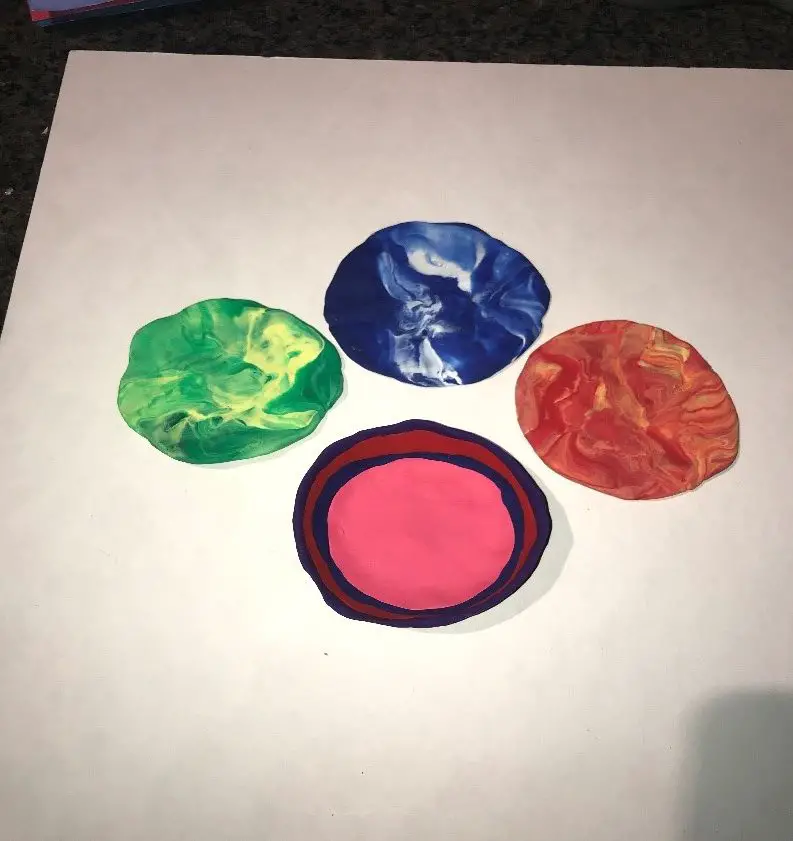
The clay is inexpensive, assuming you aren’t planning to mass-produce it, but make sure it’s specifically oven-bake or air-dry, so you can harden, preserve and actually use your creations. After fashioning your pottery, stick it on a baking sheet and put it in the oven; the packaging will have directions for specific cooking times and temperatures.
Most importantly, because the finished product is too porous to be properly cleaned, it’s not a good idea to use this polymer clay for dishes you’ll use for eating or drinking.
5. Collages
One final touch you can add to your walls are collages. This method is perfect for those looking for, essentially, free art; you can find materials around your home or dorm, your campus or workplace and even outside.
There are endless possibilities with collages: you can use magazine clippings; personal photos; wallpaper samples; eclectic collections of materials, like ribbons and old necklaces; pictures you’ve printed from the web; leaves, petals, seashells and rocks; other art pieces you’ve already made; or all of the above, scrambled together. All you need to do is glue the items to a piece of cardboard or other sturdy backing, and you’ll have an intricate collage ready to hang on display.
I have an odd hobby of sketching and coloring meme images I find, and I have a ton of these little scraps of paper just sitting around in a bag, so I decided to do something with them. Here’s how my collage turned out.

As you can see, introducing art to your home and flexing your creative brain doesn’t have to cost a lot of time or money. Making cheap art is possible, no matter your talent or experience, and it can take less than an afternoon. You never know; it could become a lifelong hobby, but whatever your motivations, it’s time to get crafting!


