

WooCommerce, a popular eCommerce platform from WordPress, is a great fit for a wide variety of online stores.
Shopify is another well-known eCommerce platform that has been popularly used, so if you want to see which would be a better platform for your online store, you might want to go through the tutorial “WooCommerce Vs. Shopify.”
If you are looking to set up an online store on WooCommerce though, read this guide until the end, as it will cover how to set up a WooCommerce on WordPress hassle-free.
You might not be aware, but WooCommerce can be used for more than just the display of physical or digital products. There are various other uses of this plugin, some of the most common being its usage of WooCommerce for bookings and appointments scheduling, setting up membership websites and the setting up of recurring payments using WooCommerce Subscriptions. This makes this plugin a very versatile tool for powering a business and increasing revenue through the business website.
Installation and Activation Procedure
WooCommerce is a free WordPress plugin that can be directly installed from the official directory of WordPress plugins.
To do so, first, you will have to login to WP admin area using your username and password.
Next, you need to follow the steps given below:
1. Go to your WP admin area and select the “Plugins” options from the left side menu.
2. On the plugins page, click on “Add New.”
3. Search for “WooCommerce plugin” in the search bar.
4. Now click on “Install Now.”
5. As soon as you hit the install button, you will see the installation procedure progressing. Once this procedure is completed, hit the “Activate” button.
Setting Up Procedure
As soon as installation procedure gets completed, you will notice a welcome message ask you to run the Setup Wizard. When you see this, just click on the purple “Let’s Go!” button.
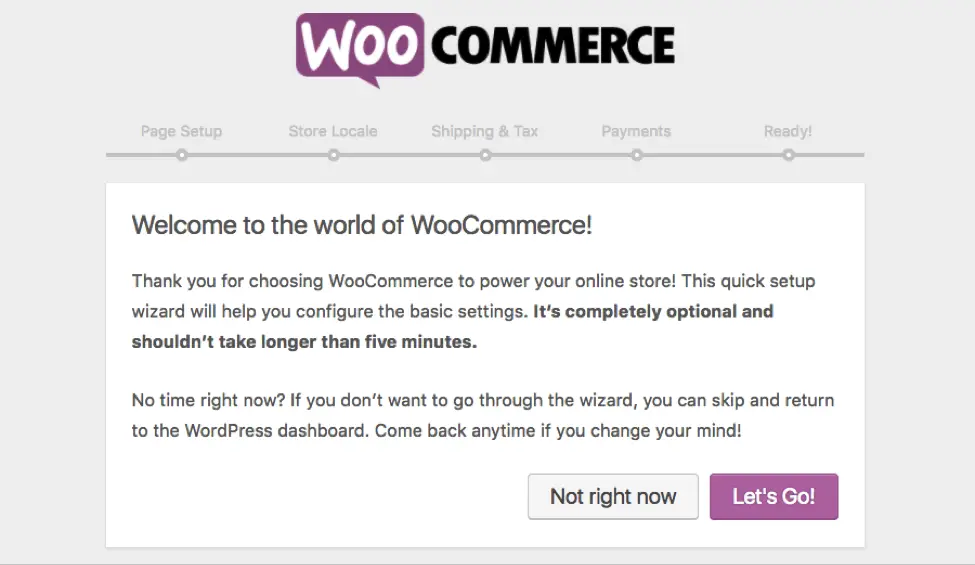
In case you mistakenly clicked on the “Skip Setup” button, don’t worry, you can still run the setup wizard using WooCommerce -> Help -> Setup Wizard section.
This setup will help you to configure some basic settings.
Page Setting
WooCommerce automatically creates a few important pages for your online store, including Shop, Checkout, Cart and My Account. These pages are crucial for the proper functioning of your WooCommerce store.
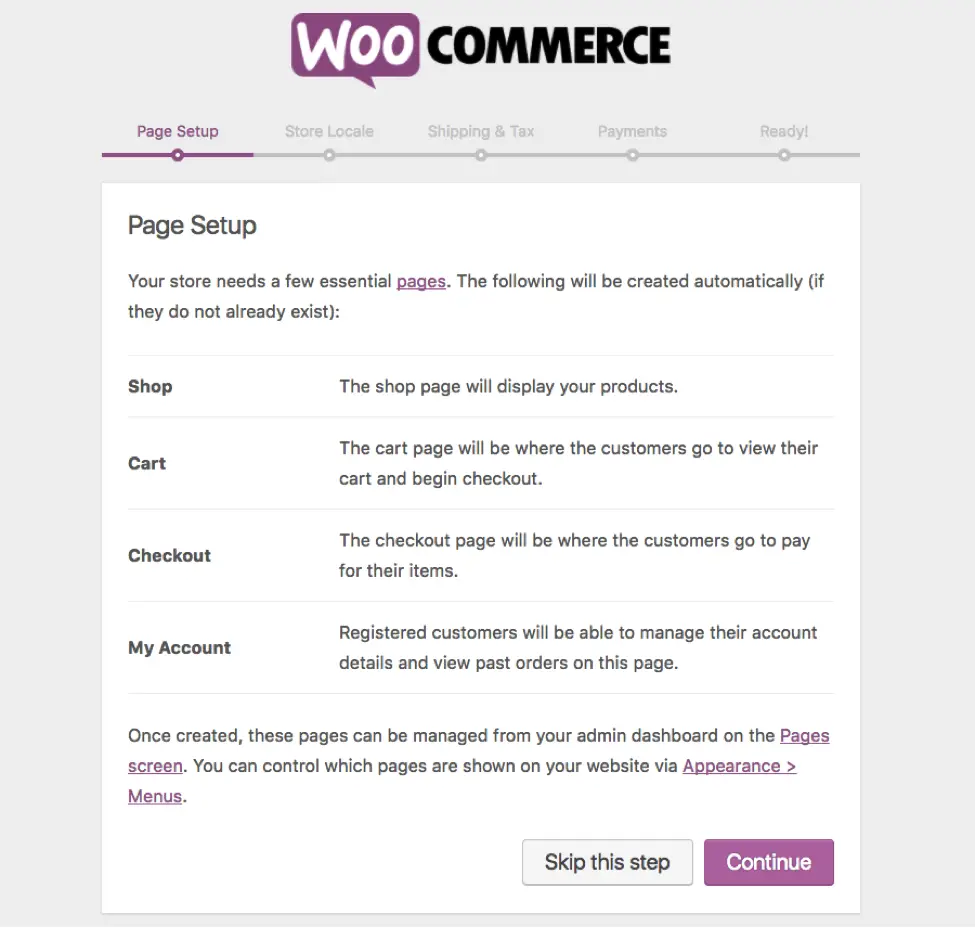
You may briefly go through this page and then click on the button “Continue.”
Store Locale
The next step allows you to set up your store’s location, weight and dimension of products, as well as which currency your store will accept or use.
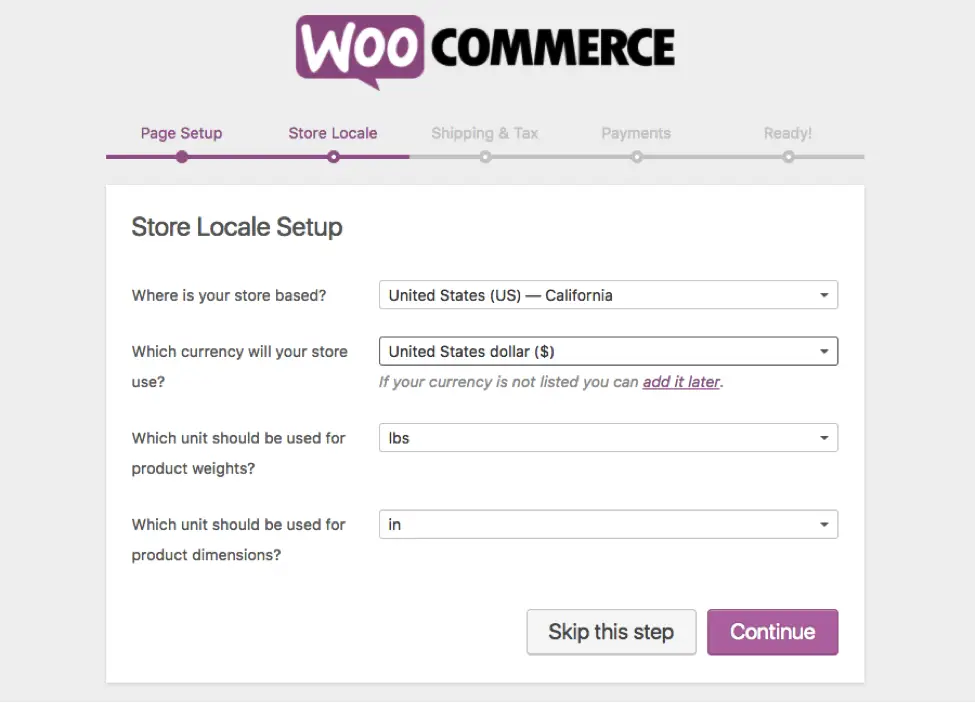
Just fill in this information as per your requirements and hit the “Continue” button.
Shipping and Tax
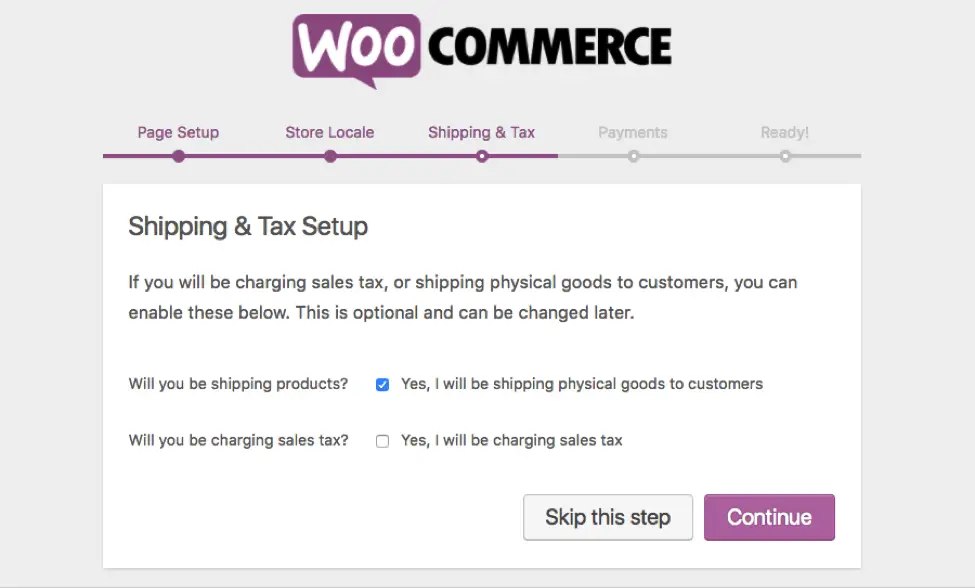
In this step, you will configure information like whether you will be shipping products or charging sales tax. If you’re offering these options, you may check these boxes and then hit the “Continue” button again.
Payments
This is an important step that gives you the liberty to set the payment options you accept. See the following screenshot.
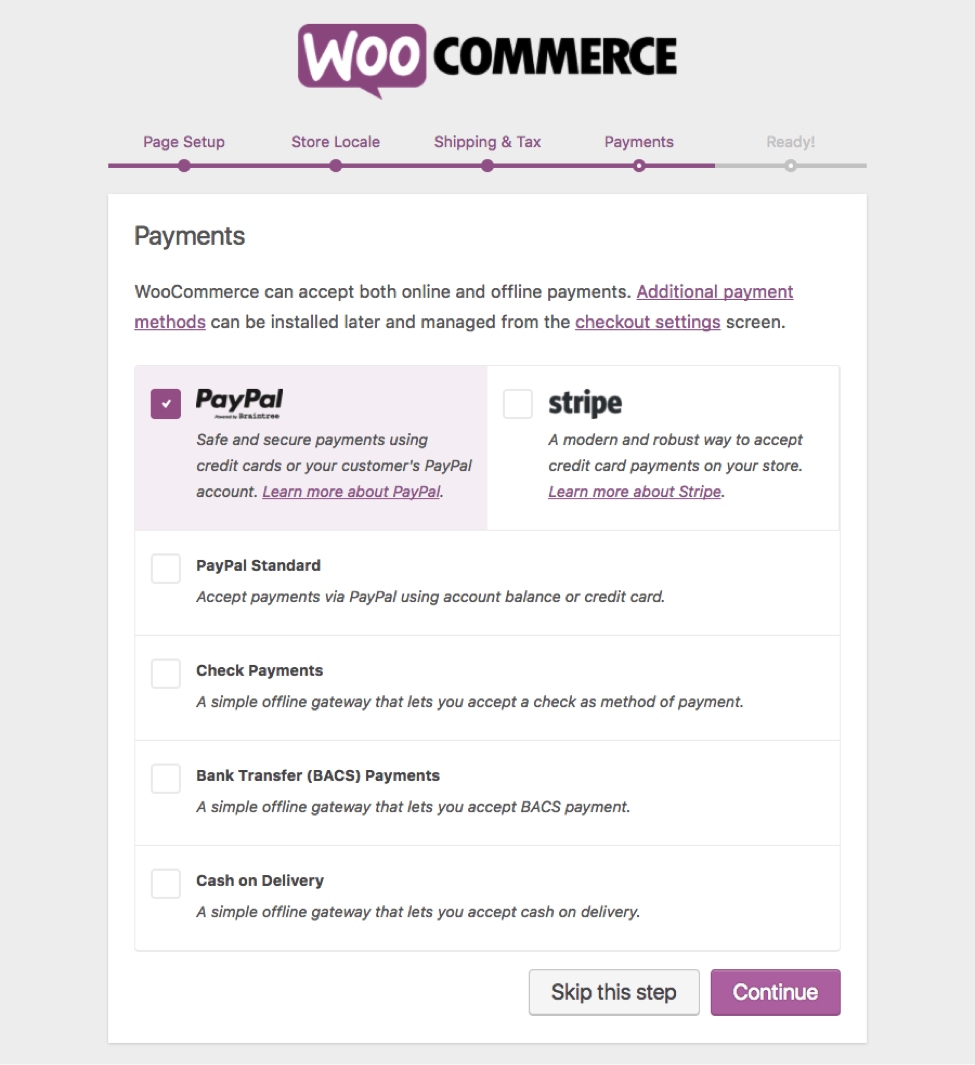
Again, click on the “Continue” button.
Now WooCommerce setup has completed and you can get ready to add products.
To do so, click the “Create Your First Product” button that appears on the screen.
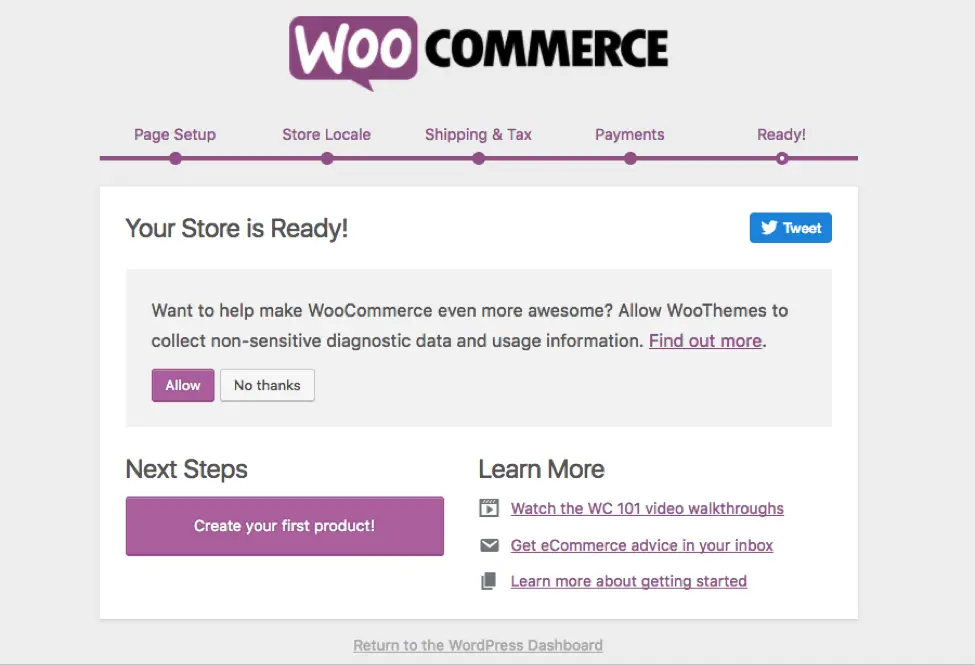
As you can see, setting up WooCommerce on WordPress is quite user-friendly, even for a newbie.
Let’s see how to add products now.
Adding and Managing Products
Before adding products, you must have some basic information about product categories, attributes and product types.
Product categories: These help you to group your different products.
Attributes: These help you to filter the products’ size, types, colors, etc.
Product Types: These pre-define your product types into categories, such as Simple, Grouped, External, Downloadable, Variable, etc.
Adding product to WooCommerce is similar to adding a new post to a WordPress blog. To begin adding products, click on the “Create Your First Product” button available in the “Products” menu.
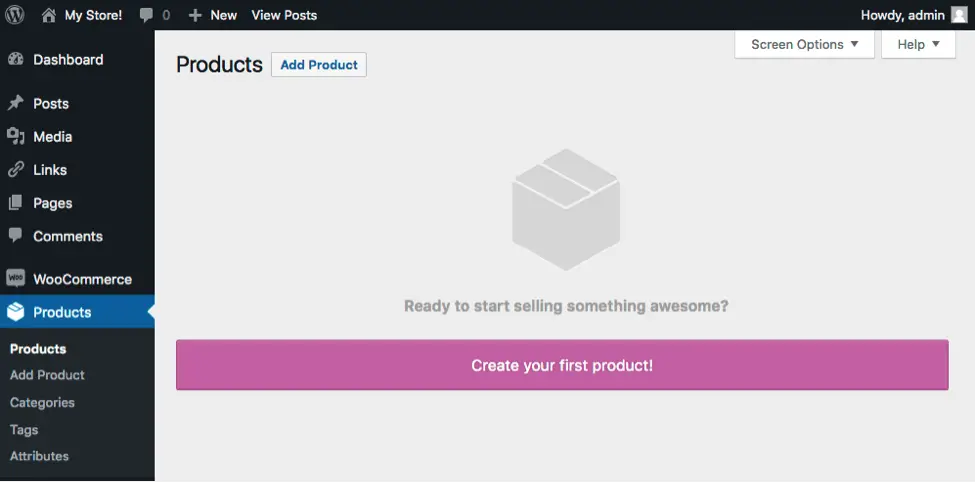
The following screen will open in front of you.
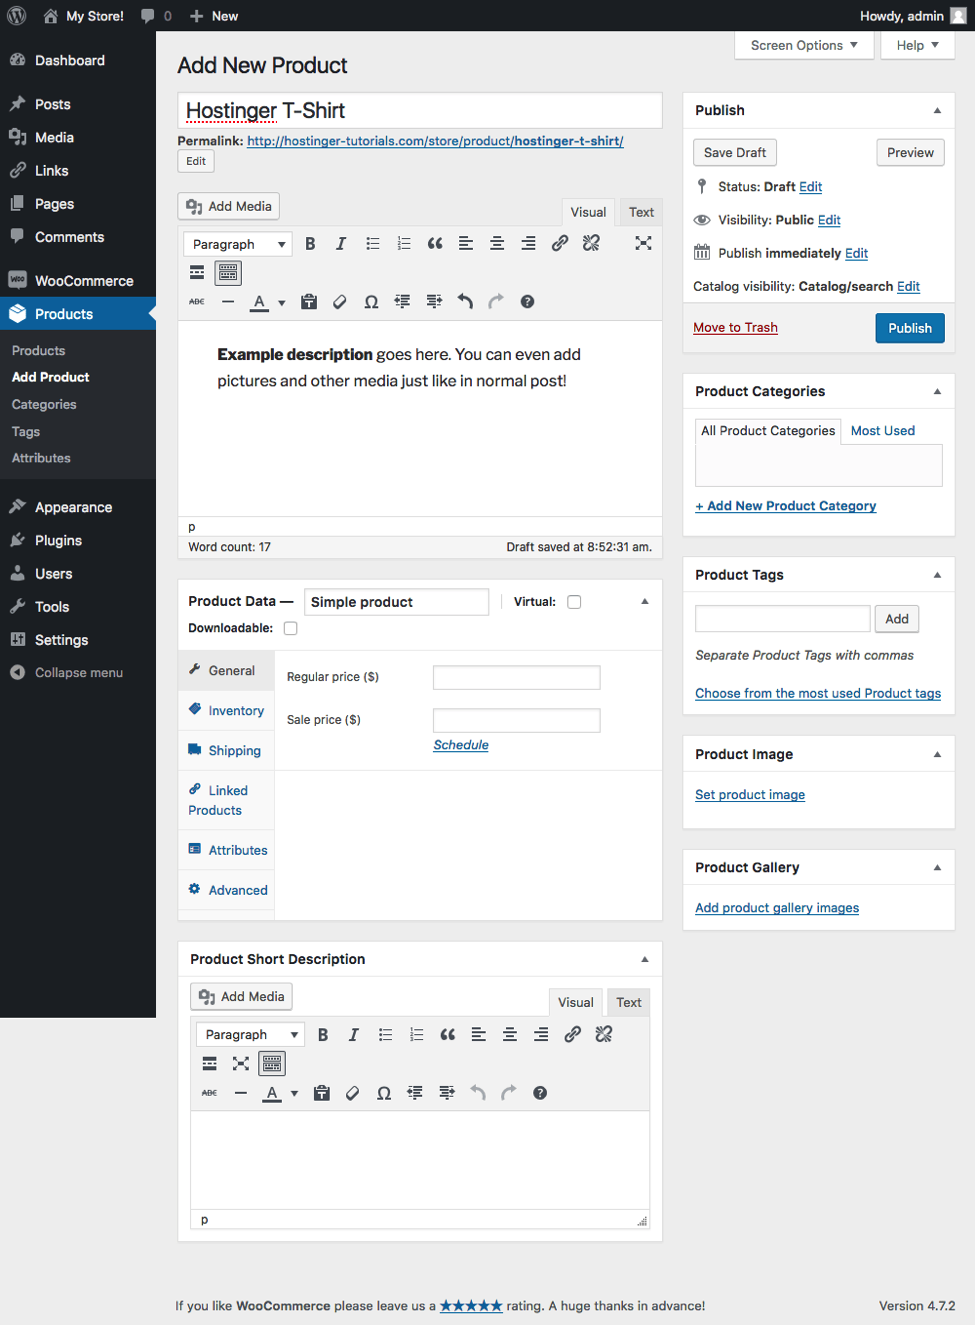
At this point you have to add the title, description, inventory, shipping details, etc. of your product.
This is the section where various types of product customization are achieved. You may begin working on it with simple products first so that you can get familiar with the “Add Product” section easily.
To set pricing, you can go through “General Section” where you can also list the discounted sale price.
Inventory Section
The inventory section helps you to tell customers whether your products are “in stock” or “out of stock.” Look at the following screenshot.
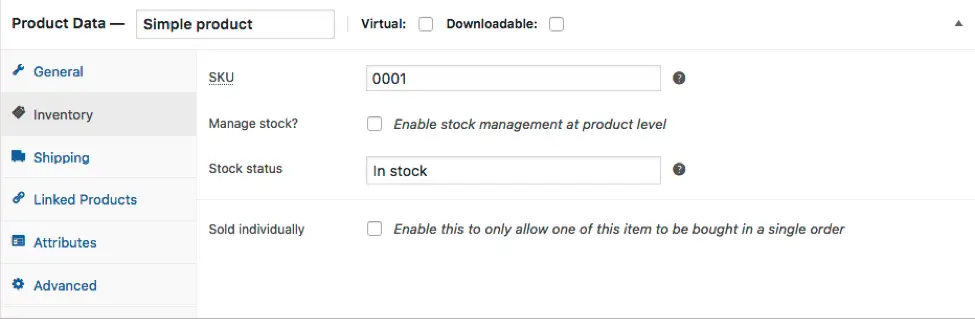
In a similar way, there are few other sections or options, such as “Shipping,” “Linked Products” and “Advanced” that help you to display your products in a well-organized manner.
How to Manage WooCommerce Orders
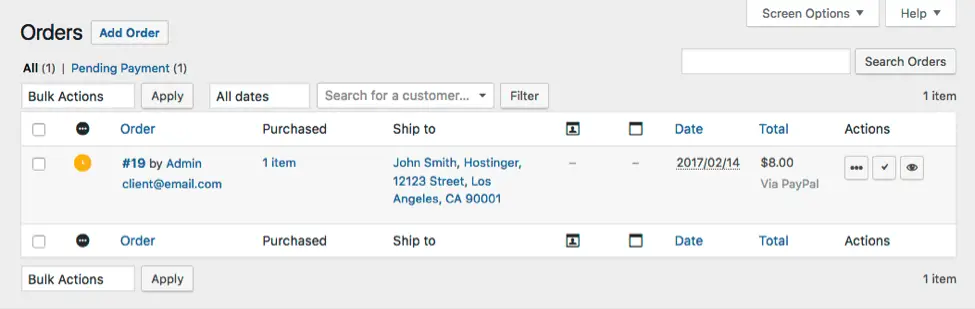
Every time a customer goes through the checkout process, a new order is made. To view the new orders, you can click on “Orders” option available in the left-hand menu.
Every order will be given a different Order ID, along with details such as the customer name, address, email ID, contact number, payment method, etc.
You can also view and edit single order separately by clicking on “Edit” button given under order number. You can perform editing tasks, such as updating the order status, order pricing, order taxes, etc.
How to Manage Coupons and Reports
WooCommerce on WordPress gives you easy access to manage both coupons and reports.
Coupons can be a great tool to advertise and sell products. With WooCommerce, you can easily add new coupons and view the existing one in the “Coupons” section.
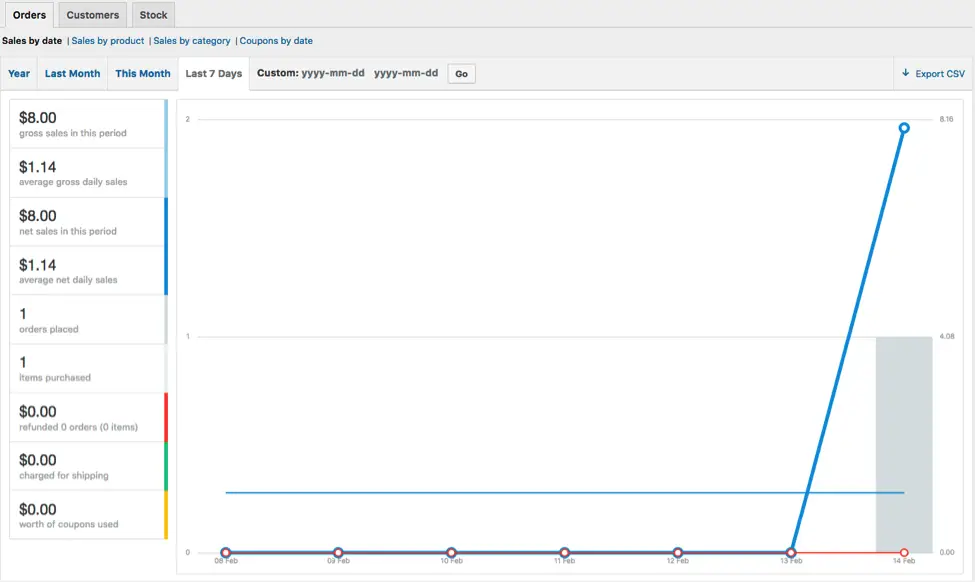
When it comes to managing reports, the feature helps you view how profitably your store is running. Here you can see daily sale report, gross sales, number of total purchased products and other similar stats.
Moreover, here you can generate stats for individual products as well. To generate reports, you will need to hit the “Go” button.
Settings
“Settings” is another important page that allows you to change the core options of your store. Here you can easily make the change in Currency, API and Location. Make sure you check the help section for detailed explanation and instruction before going through any big changes.
These were a few of the major setting options (though there are a few others) that can help users maintain and run their store efficiently.
Hopefully, this tutorial will help you to setup WooCommerce store on WordPress.