
Coffee courses through the veins of nearly every college student, powering late-night study sessions, early morning classes and mid-afternoon lulls.
For many students, their Keurig or coffee pot suffices in between trips to a local or campus café, but it doesn’t have to be that way. If you prefer to brew that life elixir in your own room, or just want to save some money, there are ways to get café-quality coffee from the comfort of your dorm.
Outside of a one-touch coffee machine, here are three of the best methods for making your own cup of joe.
1. French Press
French presses are probably one of the most approachable coffee-brewing techniques outside of a standard pot or single-serve machine. These apparatuses, if you’re not familiar, allow you to throw in some grounds and add hot water, wait four minutes, then plunge them down for a whole carafe of enjoyment.

The French press was invented in the 1920s, and the design hasn’t changed much since then, so hipsters and steampunks alike will be into the aesthetic. If you’re looking to stand out when you have people over to enjoy some hot drinks, then the French press is sure to turn some heads, and the flavor is already a step up from your regular coffee pot. The process is pretty low maintenance, but cleanup can be annoying since the grounds tend to get stuck everywhere.
A few tips:
Grind: Make sure your grind is a little coarser than usual. You want the consistency to resemble breadcrumbs, not the fine grind you typically find in the pre-ground bags (though that grind will do if you don’t have a grinder, you’ll just lose some of your hip cred). Also, try to use a good dark roast.
Process: Try pouring a small amount of water in at first to cover all the grounds and help them “bloom.” Also, try stirring after one minute of brewing. This will break the top layer, or “crust,” of the grounds and better distribute them. Drop those cool coffee vocab words into conversation to flaunt your prowess.
Serving: Be sure to pour the coffee as soon after brewing as you can, as leaving it in any longer will make the coffee bitter. I’ve done it plenty of times, and basically your coffee is just going to turn into mud. Have several mugs at the ready.
Cleanup: The grounds are going to be stuck in the metal filters and everywhere in between. It’s easiest to just clean it out right away when just a simple rinse will do. If you wait any longer than a day or two, you’re going to have to break out the elbow grease.
Fun fact: Since the French press has metal filters, it allows the oils to pass through, making for a fuller flavor.
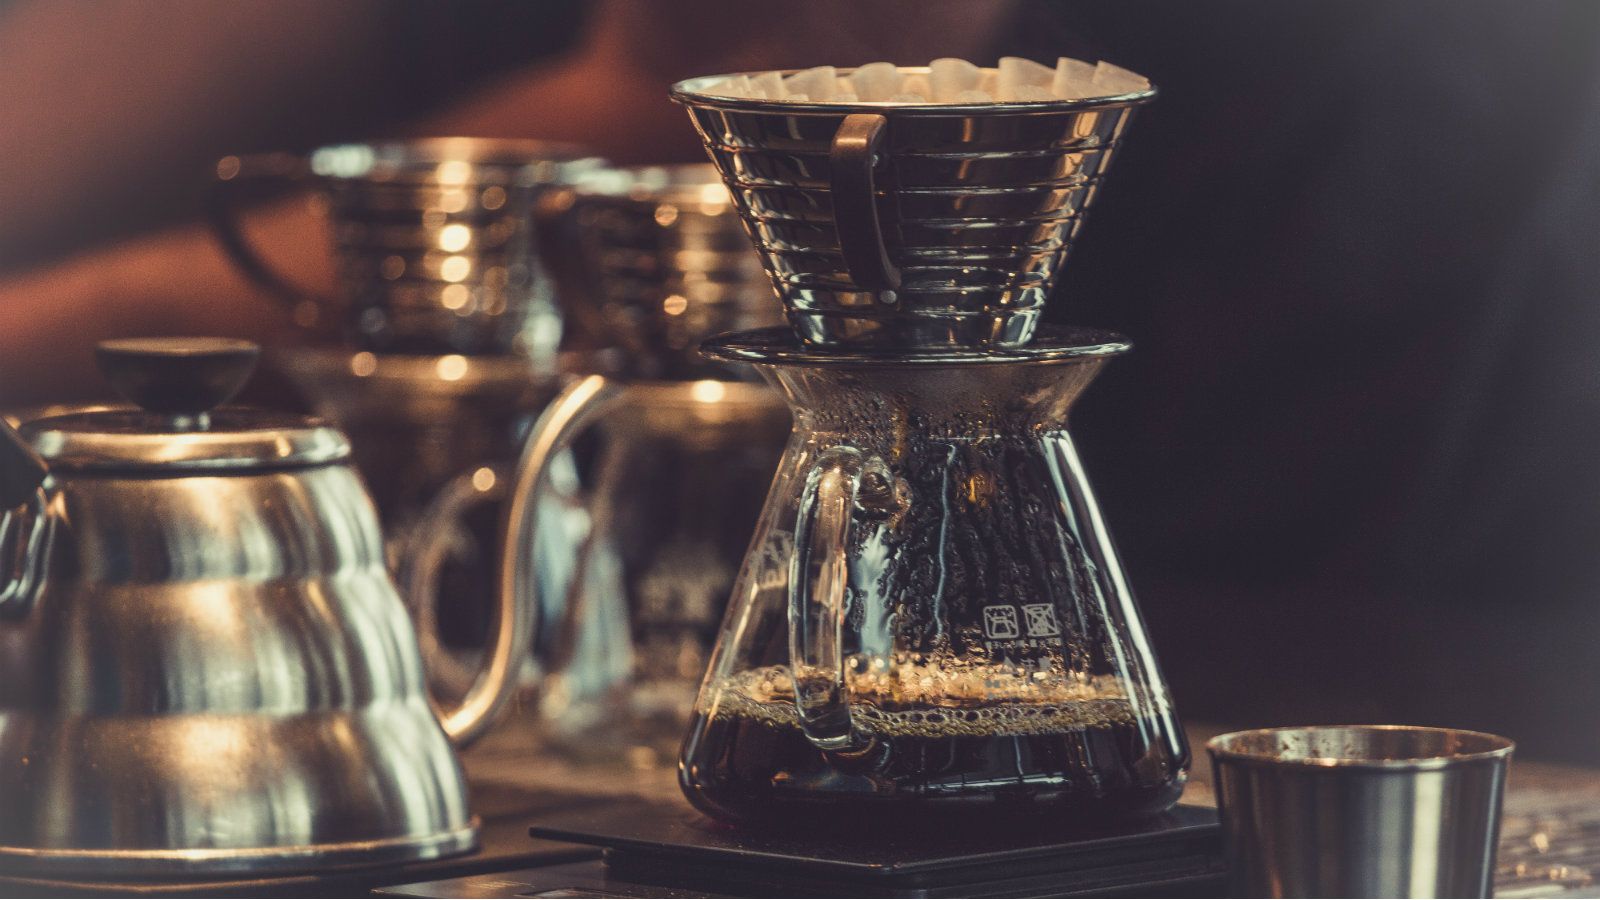
2. Chemex
If you’ve ever wanted to feel like a mad scientist while you’re making your coffee, a Chemex might be right for you. It is a more intimidating step than a French press, but once you get the hang of it, you’ll be a caffeine alchemist, since the thing is basically like a giant beaker—a chemist invented it, after all.
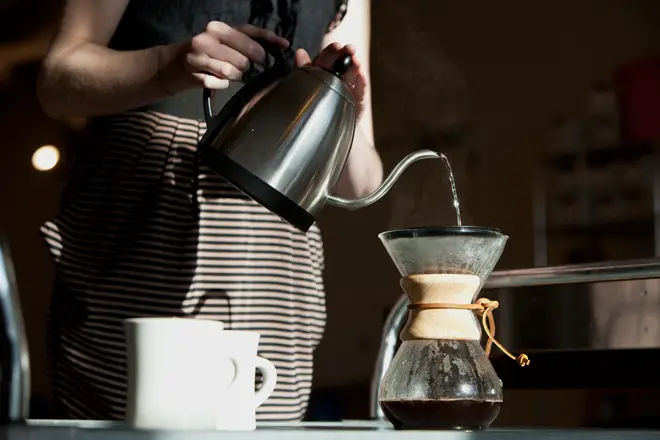
For those unfamiliar with the process, a Chemex has a few more moving parts than a French press. It’s easiest to have a scale around for exact measurements, though you can get by without it. Once everything is heated and measured out, all you have to do is pour water over the grounds.
Plus, cleanup is super easy since you can throw the grounds right out with the filter. The only downside is that college campuses can be unfriendly to large glass objects, so treat it well and catch it when it falls, like a sweet significant other.
A few tips:
Grind: It’s cool if your grind is a little finer than with a French press, since you won’t be immersing the grounds completely, so think more like the consistency of sand. Unlike the French press, a light roast is best for this method.
Process: When you pour in your water, try pouring around the edges, but don’t get too crazy and make the grounds overflow. Also, the filters can be thick, so if you feel like the drip is taking centuries, try pouring water through the center to punch the rest of it through.
Serving: Since the grounds aren’t immersed in water, it’ll take longer for the coffee to get bitter from sitting out. Some places sell stoppers to keep your coffee from evaporating while it sits out, but come on, you probably don’t need to go that far. This brew is better for casual pouring, since there’s less pressure to prevent it from turning into mud.
Cleanup: Cleaning your Chemex is super easy, since you can throw the grounds right out with the filter. All it really needs is a quick rinse then a nice soap scrub every now and then, because health. Don’t be gross, guys.
Fun fact(s): The Chemex design is so cool, it’s actually a permanent installation in the Museum of Modern Art. Also, since the brew is so clean, a Chemex is one of the best ways to taste subtle flavor differences in beans, so host a fancy tasting party and pick the variety that’s right for you.
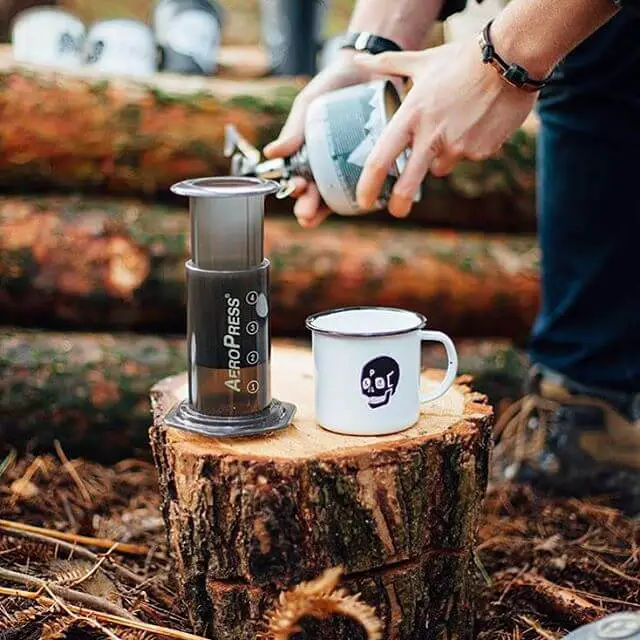
3. AeroPress
An AeroPress probably ranks as the hardest to pick up, though it’s still relatively easy. The AeroPress does have a leg up as far as convenience in that it’s small (only single-serve) and lightweight, so it’s super easy to carry around with you, though you are a little limited by a hot water source.
It’s a popular choice for people who love camping, and makes a stronger brew than the other two options.
To make an AeroPress the inverted style, you have to do a lot of flipping back and forth, so it’s best to know what you’re doing before you start, otherwise you could end up with boiling water all over your counters. I’ve heard it happens to some people. Not me.
A few tips:
Grind: For this method, a finer grind is preferred, so the pre-ground bags of beans will do just fine. The AeroPress is a little more adaptable than the other choices, so the roast you choose is totally up to you.
Process: An AeroPress, while adaptable, can also be pretty finicky. My tip is to find a brewing method or recipe that works for you, and perfect it before you start experimenting too much. See The Coffee Folk for a guide to using the AeroPress. Also, when you’re making the coffee, press the plunger down until you hear a hiss, otherwise you might end up drinking your grounds, and nobody likes crunchy coffee.
Serving: There is no storing method for an AeroPress. Once it’s done, it gets pressed directly into a cup. So make sure you have a mug with a wide enough mouth to fit the end of the AeroPress at the ready.
Cleanup: This has easily the simplest cleanup. All you have to do is pop out the filter with a little push, then give it a quick rinse. Again, since the cleanup is so easy, it’s perfect for on-the-go trips like camping.
Fun fact: The guy who invented this also invented a type of Frisbee called the Aerobie, because he knows how to diversify.
All of these methods are certainly not the only ones out there, and maybe at the end of the day, you just prefer the simplicity of a pot. But there’s a whole coffee world waiting to be explored. Why spend your life drinking sub-par coffee when the perfect cup is out there waiting for you?