
All of us wish to live a life where time is under our control. Planning, oftentimes, can help you better manage your time, and hopefully, you can expect productive results in turn.
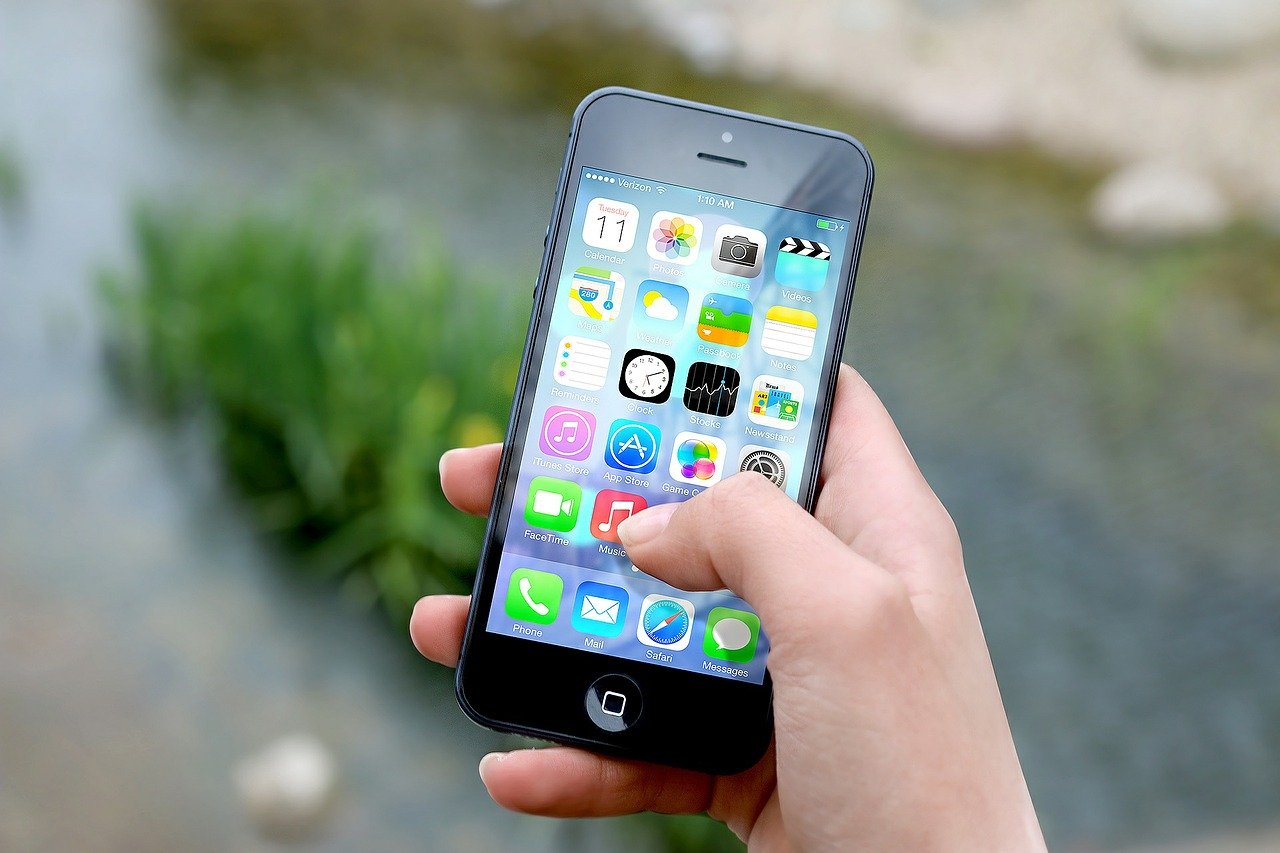
While taking control of your time might seem difficult to achieve, it is not impossible. The answer could be right on your phone or laptop: the calendar app. Once you can master it, you’ll be headed in the right direction.
So, here are the 5 must-know tips for Apple calendar users to live their life in perfect balance.
1. You Can Synchronize Your Calendars
You can use your Apple calendar like a pro if you know this tip. Most times people have different calendars on different platforms and they are all equally important. And with an Apple calendar, you can get its best user services by connecting it with both Google or Microsoft calendars.
In case you’re new to iOS devices and need your previously planned schedules, just sync them with the Apple calendar and you’re all good. While you connect different calendars, you can also code them with a particular color for easy recognition.
Steps: Go to Calendar > Accounts on a Mac, and follow the onscreen instructions for a timetable to link. Touch Calendars > Add Calendar on a smartphone, and proceed to the next step.
2. Enjoy the Delegate Feature for Better Management
Another very useful tip for those who don’t know already is this Apple calendar feature. It lets other people, say co-workers or team members, add, edit or delete events and respond to invites. If you’d like anyone to access your iCloud calendar, you can offer them access to both view and edit.
Simple steps to follow: Click the Calendars icon beside the green full-screen mode tab to exchange an iCloud calendar. Then select the calendar that you feel the need to share. Next, write the title or email account of the delegate. Quick Tip: They must be in your contact list to collaborate with it.
3. Control Edit Restrictions With a Read Only View
If you are sharing your plans with someone you don’t want to have “edit” access, then you need to know the use of this feature.
Steps: Pick any schedule you want to share, then select the right side of its address (if you click on the name, you will be given an editor choice) and then choose the box next to Publish. It is not just for the Mac computer, either. You can start sharing an iPhone or iPad calendar plan too.
The software provides a URL that you can exchange with the audience. You can copy/paste the URL, and just use the Share button to upload it or send it to someone. If you do not see the URL immediately, close that window and open it again. It will show up right away.
4. Subscribe to Public Calendars for Reminders
You can also subscribe to a public calendar to stay in touch with important global or other events. Yes, calendar apps are not all that boring.
An Apple calendar comes with the ability to subscribe to other people’s published calendars with the public view setting. They may include national or religious holidays, schedules for the sports leagues and much more.
After you have subscribed, they will be shown in your calendar randomly but you may choose to delete them from your display view just like you would delete any other schedule. You will need the calendar’s URL to subscribe to a calendar. You can locate the URL via Google Search or by approaching the person or organization that posts the event calendar. After all of it, you will get a link with .ICS as an ending code.
5. Sync your Calendar with iCloud to Stay in Touch
Would you panic if you lost or broke your iPhone or Macbook and need to access your calendar? You sure would if you don’t know this tip. Although it is now quite known by most people that in cases like device loss, you can reach or retrieve your data through logging into your iCloud.
You can log in to your iCloud account via any browser but you have to set the right options to do so. After logging in to your apple calendar, go to Settings>> Sync>> iCloud. If your account is synced, you don’t have to worry about anything.
There are many other features that you must explore to master your scheduling skills with an apple calendar and enhance your planning experience. Check them out!