In order to help those who have had such disappointing experiences, let me introduce you to a step-by-step guide on how to play recorded or dubbed DVDs on any player.
What is DVD Finalization? And what about Blu-ray?
For those who are unfamiliar with the term “DVD finalization”, it refers to the process of preparing a recorded or dubbed DVD in such a way that it can be played on a player other than the one used for recording or duplicating.
To explain further, when you record or duplicate a DVD using a DVD recorder, the video is recorded in a format called DVD-VR, which is an appendable format. Even after recording a program, if there is free space on the DVD, you can add more data to it later.
In this state, as more information is added, the contents of the DVD change. It is still considered as not finalized, as the information is incomplete and can be supplemented by the recording device. However, other devices cannot read the disk even after the information is supplemented.
To make it readable on any device, it is necessary to prevent additional data from being inserted into the disk and finalize the information. This process is referred to as finalization.
Finalization is not only necessary for playing DVDs on any device but also recommended when you upgrade your recorder or player, as it prevents issues like “not being able to read programs recorded on the previous recorder with the new one.”
Now, regarding Blu-ray discs, many of you may wonder if they require the same finalization process as DVDs. The good news is that finalization is not necessary for Blu-ray discs. Even without finalization, Blu-ray discs can be played on machines other than the ones used for recording or duplicating. They can be read by other devices while still being in a state where additional editing is possible. Compared to DVDs, this makes Blu-ray discs much more convenient.
So, next time you want to play a recorded or dubbed DVD on a different player, make sure to finalize the DVD if it’s a DVD format. With a finalized DVD, you can enjoy your videos on any player without any trouble. If you want to learn about macbook dvd 焼く, you can read this article.
How to Finalize in Windows 10
For those who have been reading, you may now understand what finalizing is. However, you may be wondering, “How can I finalize on Windows 10?”.
For those who have this question, I will now explain how to finalize a DVD on Windows 10. Let’s make a DVD that can be played on other devices by understanding the steps thoroughly.
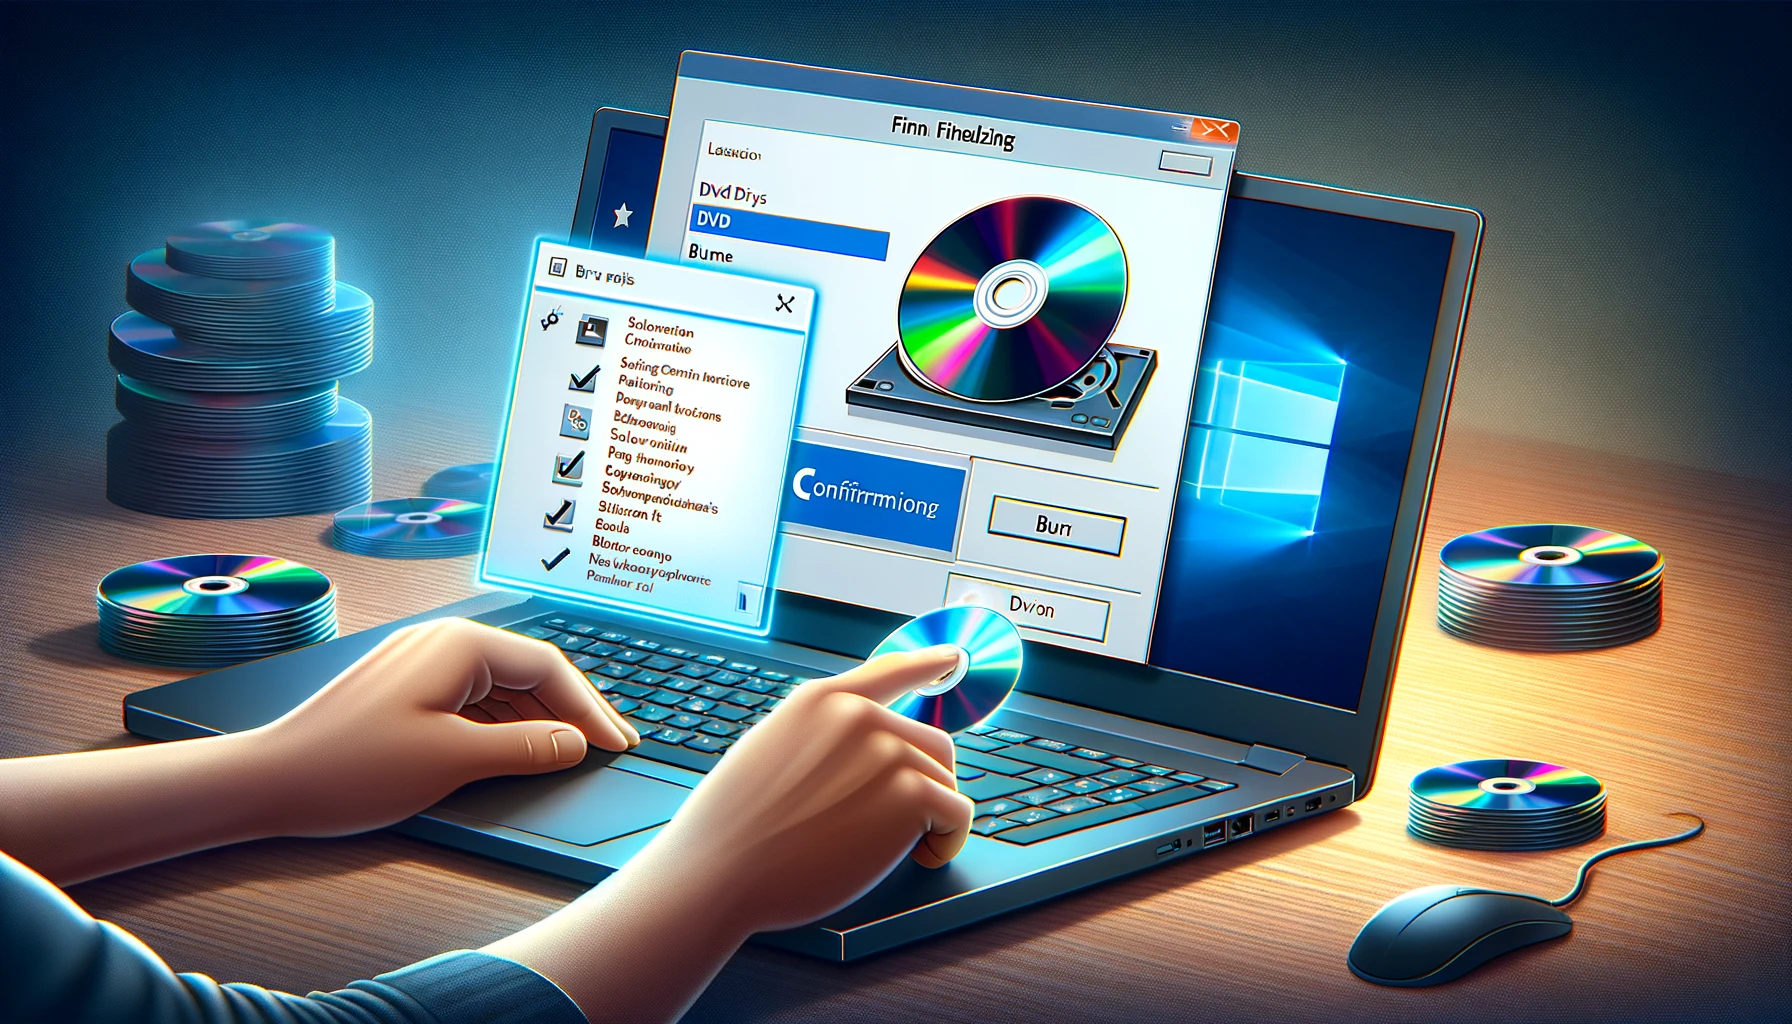
- Insert an empty DVD into the DVD drive where you want to write the data.
- A pop-up message will appear in the bottom right corner, saying “Select what you want to do with the blank DVD”. Click on this pop-up message to select it.
- The pop-up message will change to “Select what you want to do with the blank DVD”. Here, click on the option “Burn files to disc”.
- The “Burn a Disc” window will appear. Choose “CD/DVD Player” and click on the “Next” button at the bottom. This will format the disc as a master format.
(Note: You can change the disc title later, so no need to change it at this stage.)
- A window will appear regarding the formatted drive. Drag and drop the files you want to write onto the disc.
- The dragged files will be shown under “Files Ready to be Written to Disc”. Once you have added all the files you want to write, click on “Finish Burning” in the Manage tab.
- A window for “Writing to Disc” will appear. Enter your desired disc name in the “Disc title” field and choose the writing speed as per your preference.
- The progress of the disc writing process will be displayed by a progress bar. Wait until the bar reaches 100%.
- Once the process is complete, you will see a message saying “The files have been successfully written to the disc.” Click on the “Finish” button at the bottom. This completes the finalizing process.
Based on the above information, I will write a paragraph in English, ensuring correct grammar:
To finalize a DVD on Windows 10, follow these steps. First, insert an empty DVD into the DVD drive. Then, click on the pop-up message that appears, prompting you to select an action for the blank DVD. After that, choose the option to “Burn files to disc” in the subsequent pop-up message. In the “Burn a Disc” window, select “CD/DVD Player” and proceed with the formatting process. Next, drag and drop the desired files onto the formatted drive. Once all the files are added, click on “Finish Burning” in the Manage tab. Enter a title for the disc and select the preferred writing speed. Wait until the progress bar reaches 100%, indicating the completion of the writing process. Finally, click on “Finish” to finalize the DVD.
Conclusion
Make DVDs more convenient by utilizing the finalize feature and copy creation feature! How did it go? We explained what finalizing is, how to finalize on Windows 10, how to check if finalizing is complete, and even how to create DVDs without the hassle of finalizing.
Finalizing can be a tedious task when creating DVDs. In such cases, we recommend using “DVDFab DVD Creator”, which allows you to mac dvd 書き込み easily and conveniently. So definitely give it a try!
By finalizing your DVDs, you can ensure smooth playback on any player. By utilizing a software called “DVDFab DVD Copy”, you can distribute DVDs that you have created to many acquaintances. With the free version, you can copy without any quality loss, making it a convenient tool for anyone interested.


